
Many second-hand iPhone users will be trapped by the iPhone locked to owner interface. Apple Activation Lock is a security feature built into Apple’s products that automatically turns on whenever Find My iPhone is enabled. When you factory reset iPhone without entering the correct Apple ID and password, the “iPhone Locked to Onwer” interface will appear, which means your iPhone is locked to owner activation lock and you need to enter the correct Apple ID and password to bypass iPhone locked to owner. But if you do not know the correct Apple ID passcode, iPhone locked to owner how to unlock? Do not worry, in this post, we will show you 4 ways to bypass iPhone locked to owner.
Way 1. Bypass iPhone Locked to Owner Using Joyoshare Activation Unlocker
First of all, we strongly recommend a professional and effective way to bypass iPhone locked to owner without the help of the original owner, that is to use Joyoshare Activation Unlocker. As a powerful iOS unlocker, Joyoshare Activation Unlocker can help you easily bypass activation lock screen without Apple ID. Below we have summarized its main functions.
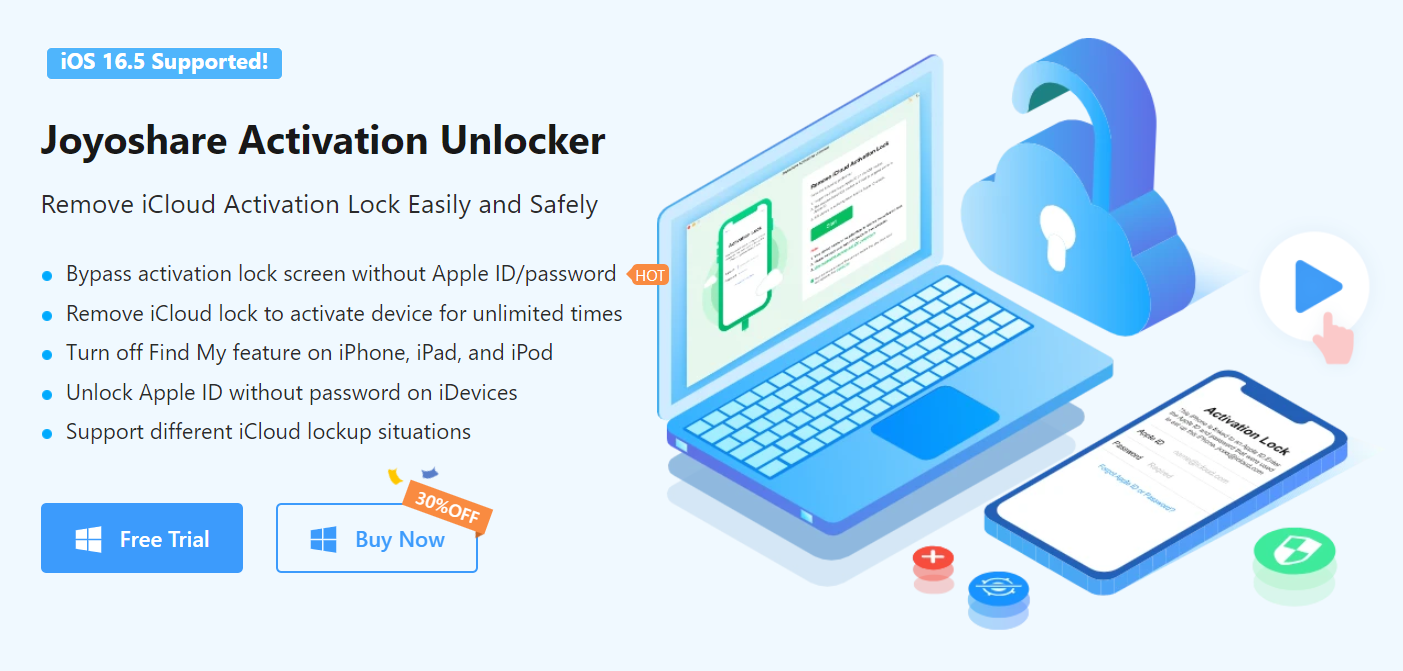

- Help you remove iCloud activation lock within several minutes. No tedious and long waiting.
- High success rate. Using advanced Apple device unlocking technology, the success rate is the highest among similar products.
- Compatible with most iOS versions and most iPhone, iPad, iPod Touch devices. Including from iPhone 5s to iPhone X. Compatible with iOS from iOS 12 – 16.5.1
- Easy to use, simple steps, no professional knowledge required, friendly to non-technical users
You can install Joyoshare Activation Unlocker for free on your Mac or Windows computer, then follow the steps below to learn how to bypass iPhone locked to owner without Apple ID and password. The unlocking methods of different computer operating systems and different iOS systems are slightly different. Here, we take the Windows version as an example.
Step 1. Run Joyoshare Activation Unlocker on your computer and preinstall iTunes. Click the Start button on the Joyoshare software homepage.


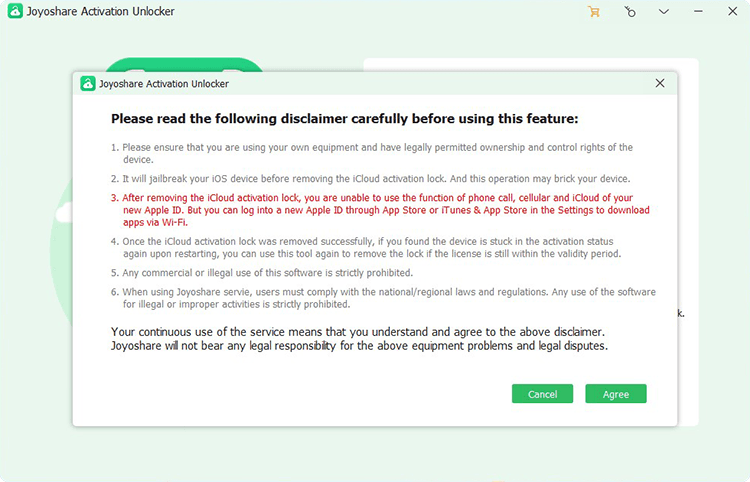
Step 2. Use a USB cable to connect the device you want to unlock to your computer, check the device information and read the disclaimer.
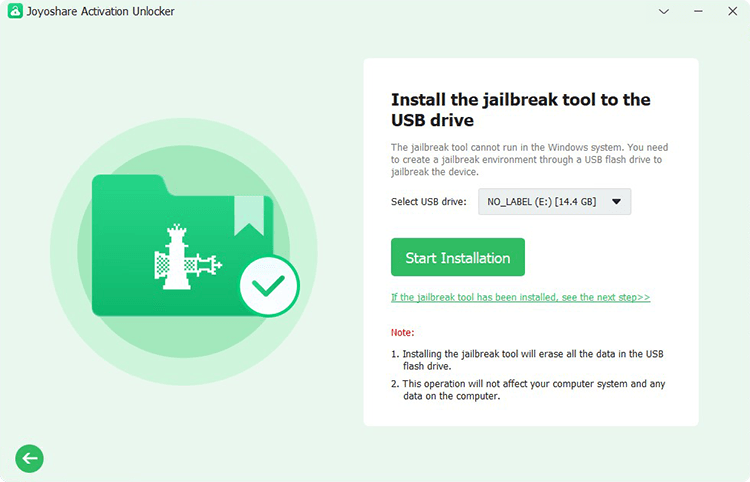
Step 3. Jailbreak your device. If you are using Windows, please click on the Windows version jailbreak tutorial to jailbreak. If your device is jailbroken successfully, please return to the software and click the Next button to continue.
Step 4. Click the Start to Remove button and Joyoshare will help you bypass iPhone locked to owner activation lock. Keep the device connected to the computer, after a few minutes, the device will be unlocked and you will receive the Removed Successfully message, which means that the iCloud activation lock in your iPhone has been successfully removed and the device is no longer stuck on locked to owner screen.

Way 2. Bypass iPhone Locked to Owner with DNS
iPhone locked to owner bypass without computer is also available. If your iPhone specifically is running an older version of the operating system, then you might consider taking this approach. This method exploits a vulnerability in the device’s WiFi DNS settings to trick your iPhone into thinking it’s unlocked. It may not always work, nor can it permanently unlock iCloud Activation Lock, and iCloud Activation Lock will reappear after a reboot. But it’s still worth a try, just in case you succeed. The following are the specific steps about how to unlock iPhone locked to owner using DNS.
Step 1. Restart the device and reset the iPhone until the WiFi settings page.
Step 2. Select More WiFi network settings and click on the “i” icon next to the network name.
Step 3. On the subsequent screen, click on the Configure DNS option and select Manual.
Step 4. Click “+Add Server” and then enter the server address according to your location.
- North America – 104.154.51.7
- South America – 35.199.88.219
- Europe – 104.155.28.90
- Asia – 104.155.220.58
- Australia and Oceania – 35.189.47.23
Step 5: Click Save and select Ask to join the network.
Step 6: Enter your WiFi password and click Join. While the device is trying to activate, click the Back button and continue setting up the device normally.
Way 3. Bypass iPhone Locked to Owner Using iCloud Web
If you’re lucky enough to get in touch with the previous owner, then you can use this method to have the previous owner remove your device remotely in iCloud so your iPhone will bypass the iCloud activation lock screen. Here’s how to do it remotely Specific steps.
Step 1. Ask the previous owner to log into his iCloud.
Step 2. Click the “Find My” button and select the device you need to bypass from the “All Devices” menu.
Step 3. Click Erase iPhone. After that, click Remove from Account option. You already bypass iPhone locked to owner successfully, and you can use your own Apple ID.
Way 4. Bypass iPhone Locked to Owner Using Apple Support
The last way is to seek official help from Apple. This may not be an easy process, but it’s still worth a try. Prepare relevant information to submit to Apple, such as AppleCare agreement number, device serial number, receipt, etc. After receiving your application, Apple officials will verify the details and decide whether to help you bypass iPhone locked to owner.
Follow Techdee for more!